Moisture test your slab - how to do it and why it saves thousands in failures
Moisture Testing Comes First: Why Skipping This Step Puts Every Epoxy Floor at Risk
Before you crack open that epoxy bucket, there’s a hard truth every professional installer needs to hear: if you don’t test for moisture, you’re gambling with the entire job. At Chromology Florida East Inc. we’ve seen countless floors that looked perfect on day one – only to fail weeks later because moisture vapor was never addressed. As your local epoxy supplier in Davie FL, our goal isn’t just to sell coatings; it’s to help you protect your craftsmanship, your reputation, and your client’s investment.
Serving contractors throughout Broward, Palm Beach, and Miami-Dade counties, Chromology Florida East Inc. supplies premium concrete coatings Florida professionals rely on for long-term performance. But here’s the reality: even the most advanced, high-performance resin systems near Fort Lauderdale will fail if they’re installed over a slab with unchecked moisture. That’s why moisture testing is not an optional step – it’s the foundation of a successful system.
🔍 How to Moisture-Test a Concrete Slab (The Right Way)
Step 1: Choose the Proper Test Method
There are two industry-accepted ways to measure slab moisture accurately.
- Calcium Chloride (CaCl) Test measures the moisture vapor emission rate (MVER) from the slab surface over a 72-hour period.
- In-Slab Relative Humidity (RH) Probes measure moisture inside the concrete, giving a clearer picture of long-term vapor conditions – especially important for slab-on-grade installs common in South Florida.
Step 2: Follow Manufacturer Specifications
Most professional epoxy, polyurea, and polyaspartic systems require:
- RH levels below 75–85%, or
- MVER below 3–5 lbs per 1,000 sq ft per 24 hours
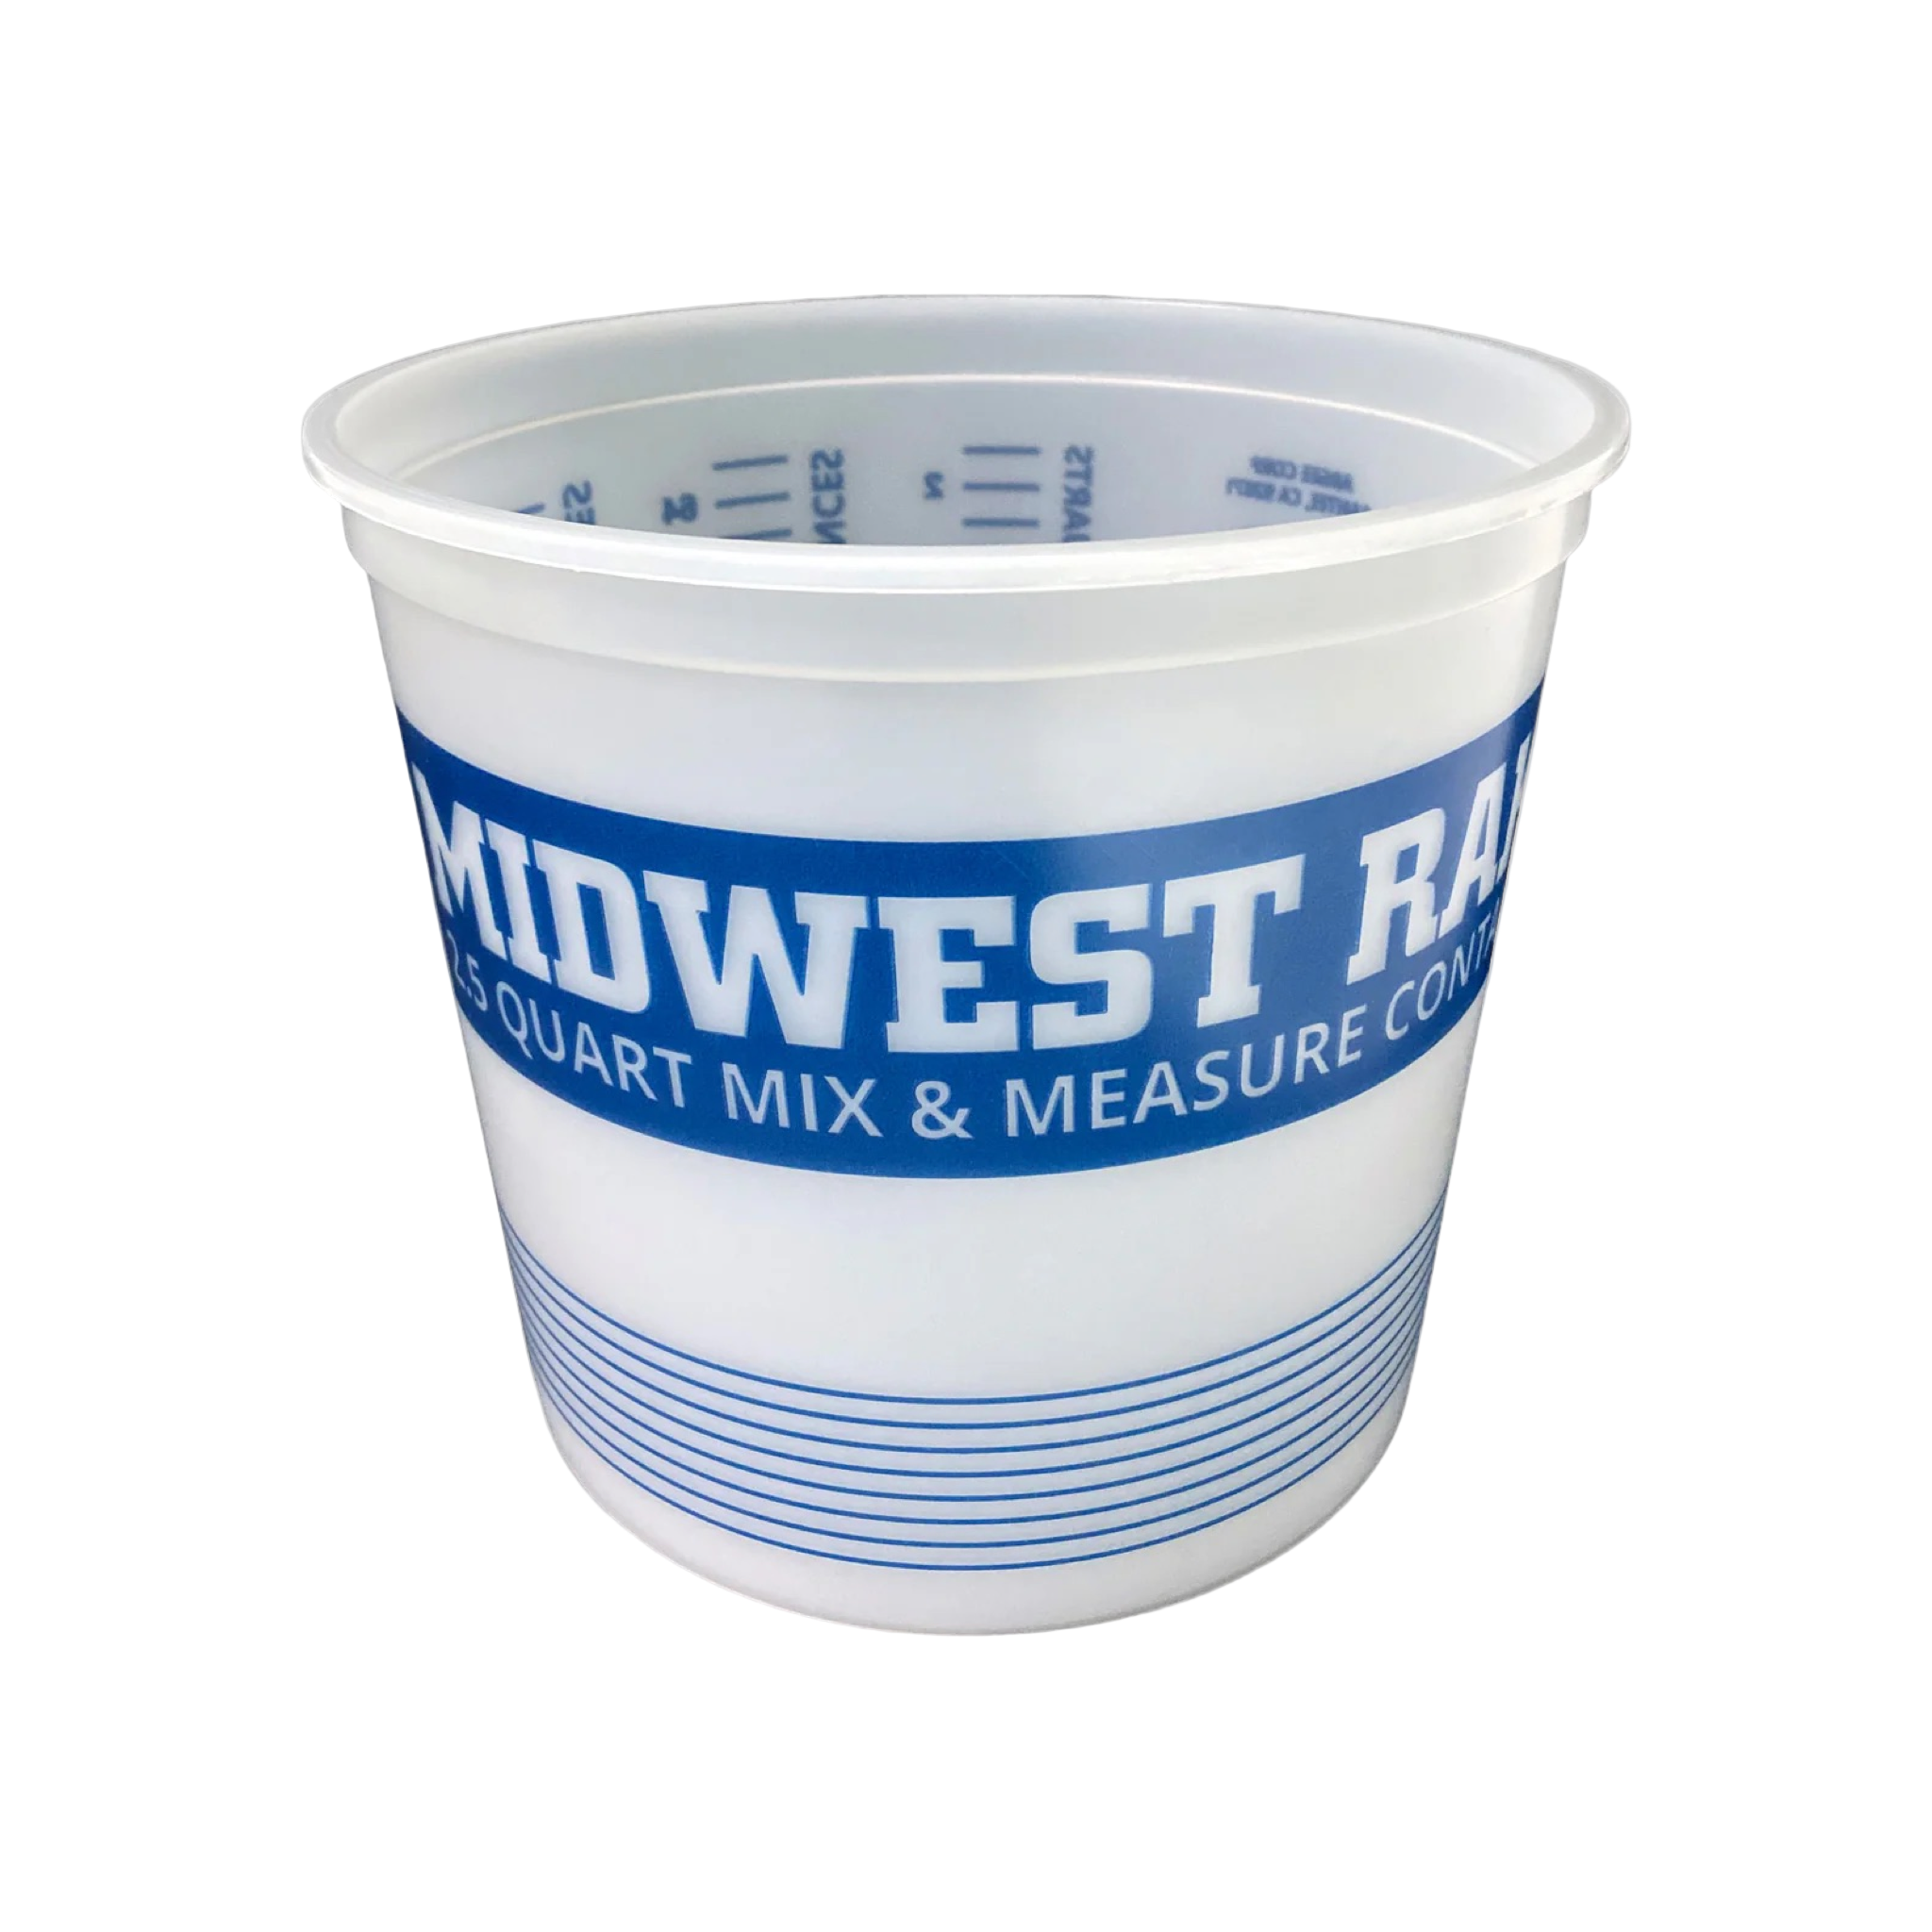
If your readings exceed those limits, the solution isn’t to “roll the dice” – it’s to install a moisture vapor barrier system, which we keep in stock and ready for same-day pickup.